Here in Switzerland, winter is cheese season – Raclette and cheese fondue are the most popular dishes; I stress “cheese” fondue (also known as Fondue Neuchateloise), because there are other varieties that have nothing to do with cheese, such as Fondue Bourguignonne (chunks of meat), Fondue Chinoise (thin slices of beef or pork cooked in bouillon), or Fondue Bacchus (thin slices of pork, veal or seafood cooked in white wine). The earliest known recipe for modern cheese fondue comes from my neck of the woods, Zürich, Switzerland, in the year 1699, and we Swiss are wise enough to know that if it works, don’t change it!
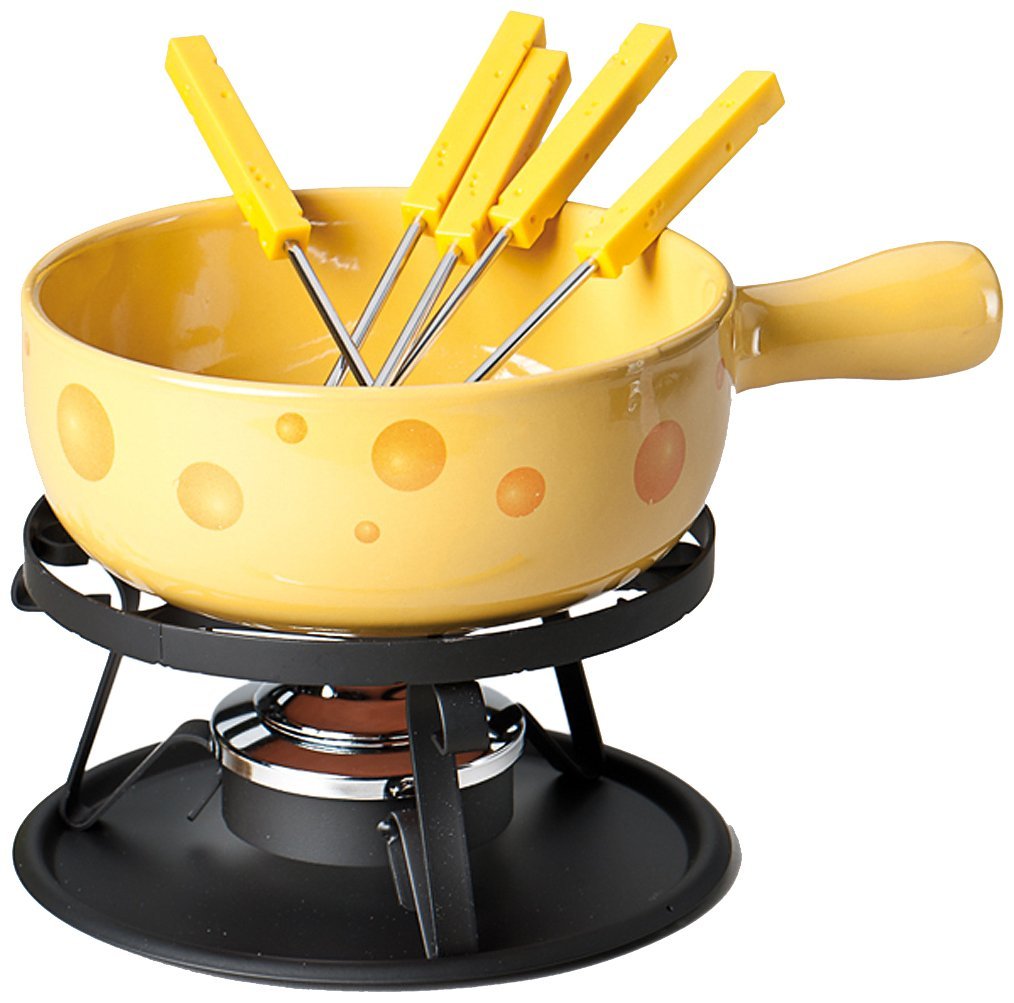
This is the set we have.
Swiss Cheese Fondue
* You will need a fondue crock set.
Calculate 200 – 300 gr. cheese per person (see note below)
1 fresh clove garlic, whole
Kirsch
White Wine
cornstarch (start off with 1/2 Tbs. & increase as necessary)
A handful of mushrooms (see below)
Mouth-sized chunks of bread of your choice (we usually prefer a “brown” bread)
A variety of pickles (baby corn cobs, cucumbers, onions, garlic, etc.) as condiments
Chilled white wine, or hot tea as beverage (see warning below!)
- Typical fondue cheeses are Gruyère, Appenzeller Rezent, or Tilsiter; if you can’t find those, you can substitute hard, sharp–tasting cheeses. Chop them into chunks, then throw them in the crock & melt it on the stove. [If you use gorgonzola, I would use ¼ to ½ gorgi, & ½ to ¾ harder cheeses.]
Take the crock, & rub the insides with either freshly sliced garlic, or a garlic paste; then chop the garlic, & add it to the cheese after it’s melted.
Once the cheese has begun to melt & is stirrable, pour in kirsch, & white wine (not too much, but enough to thin the cheese down).
You’ll need some kind of a sauce binder like cornstarch (that thickens sauces, neutral tasting); stir it in to the cheese well (I first mix a bit into kirsch, to dissolve it well).
At this stage you can add the garlic and mushrooms.

Morel (left), Porcini (right)
- If the mushrooms you’re using are the dried varieties, soften in warm water and then slice into mouth-sized bites. I use a combination of morel (Morchel) and porcini (Steinpilz) (I’ve put links to Wikipedia articles in case you are unfamiliar with the English or German names). Try to use aromatic mushrooms, and avoid using the bland button mushrooms!
While the cheese is still melting, prepare the rest of the ingredients (pickles, bread chunks, etc.); get it all ready to go, because once the cheese is on the table burner the meal is hectic for the first few minutes, trying to keep the cheese from burning on the bottom (by stirring a chunk of bread in it) and pouring the wine, etc.
I serve fondue with chunks of bread to dip, + side dishes of all kinds of mixed pickles, & chilled white wine.
We also serve one glass / bowl of kirsch, to dip the bread in prior to stirring in the cheese–it adds a nice bite to the bread.
- If you don’t want alcohol, I would still recommend cooking wine in the stove stage; you can serve it with hot black tea. If you serve it with cold non–alcoholic beverages, the cheese tends to clump in the stomach, & can be uncomfortable!
En Guete!


